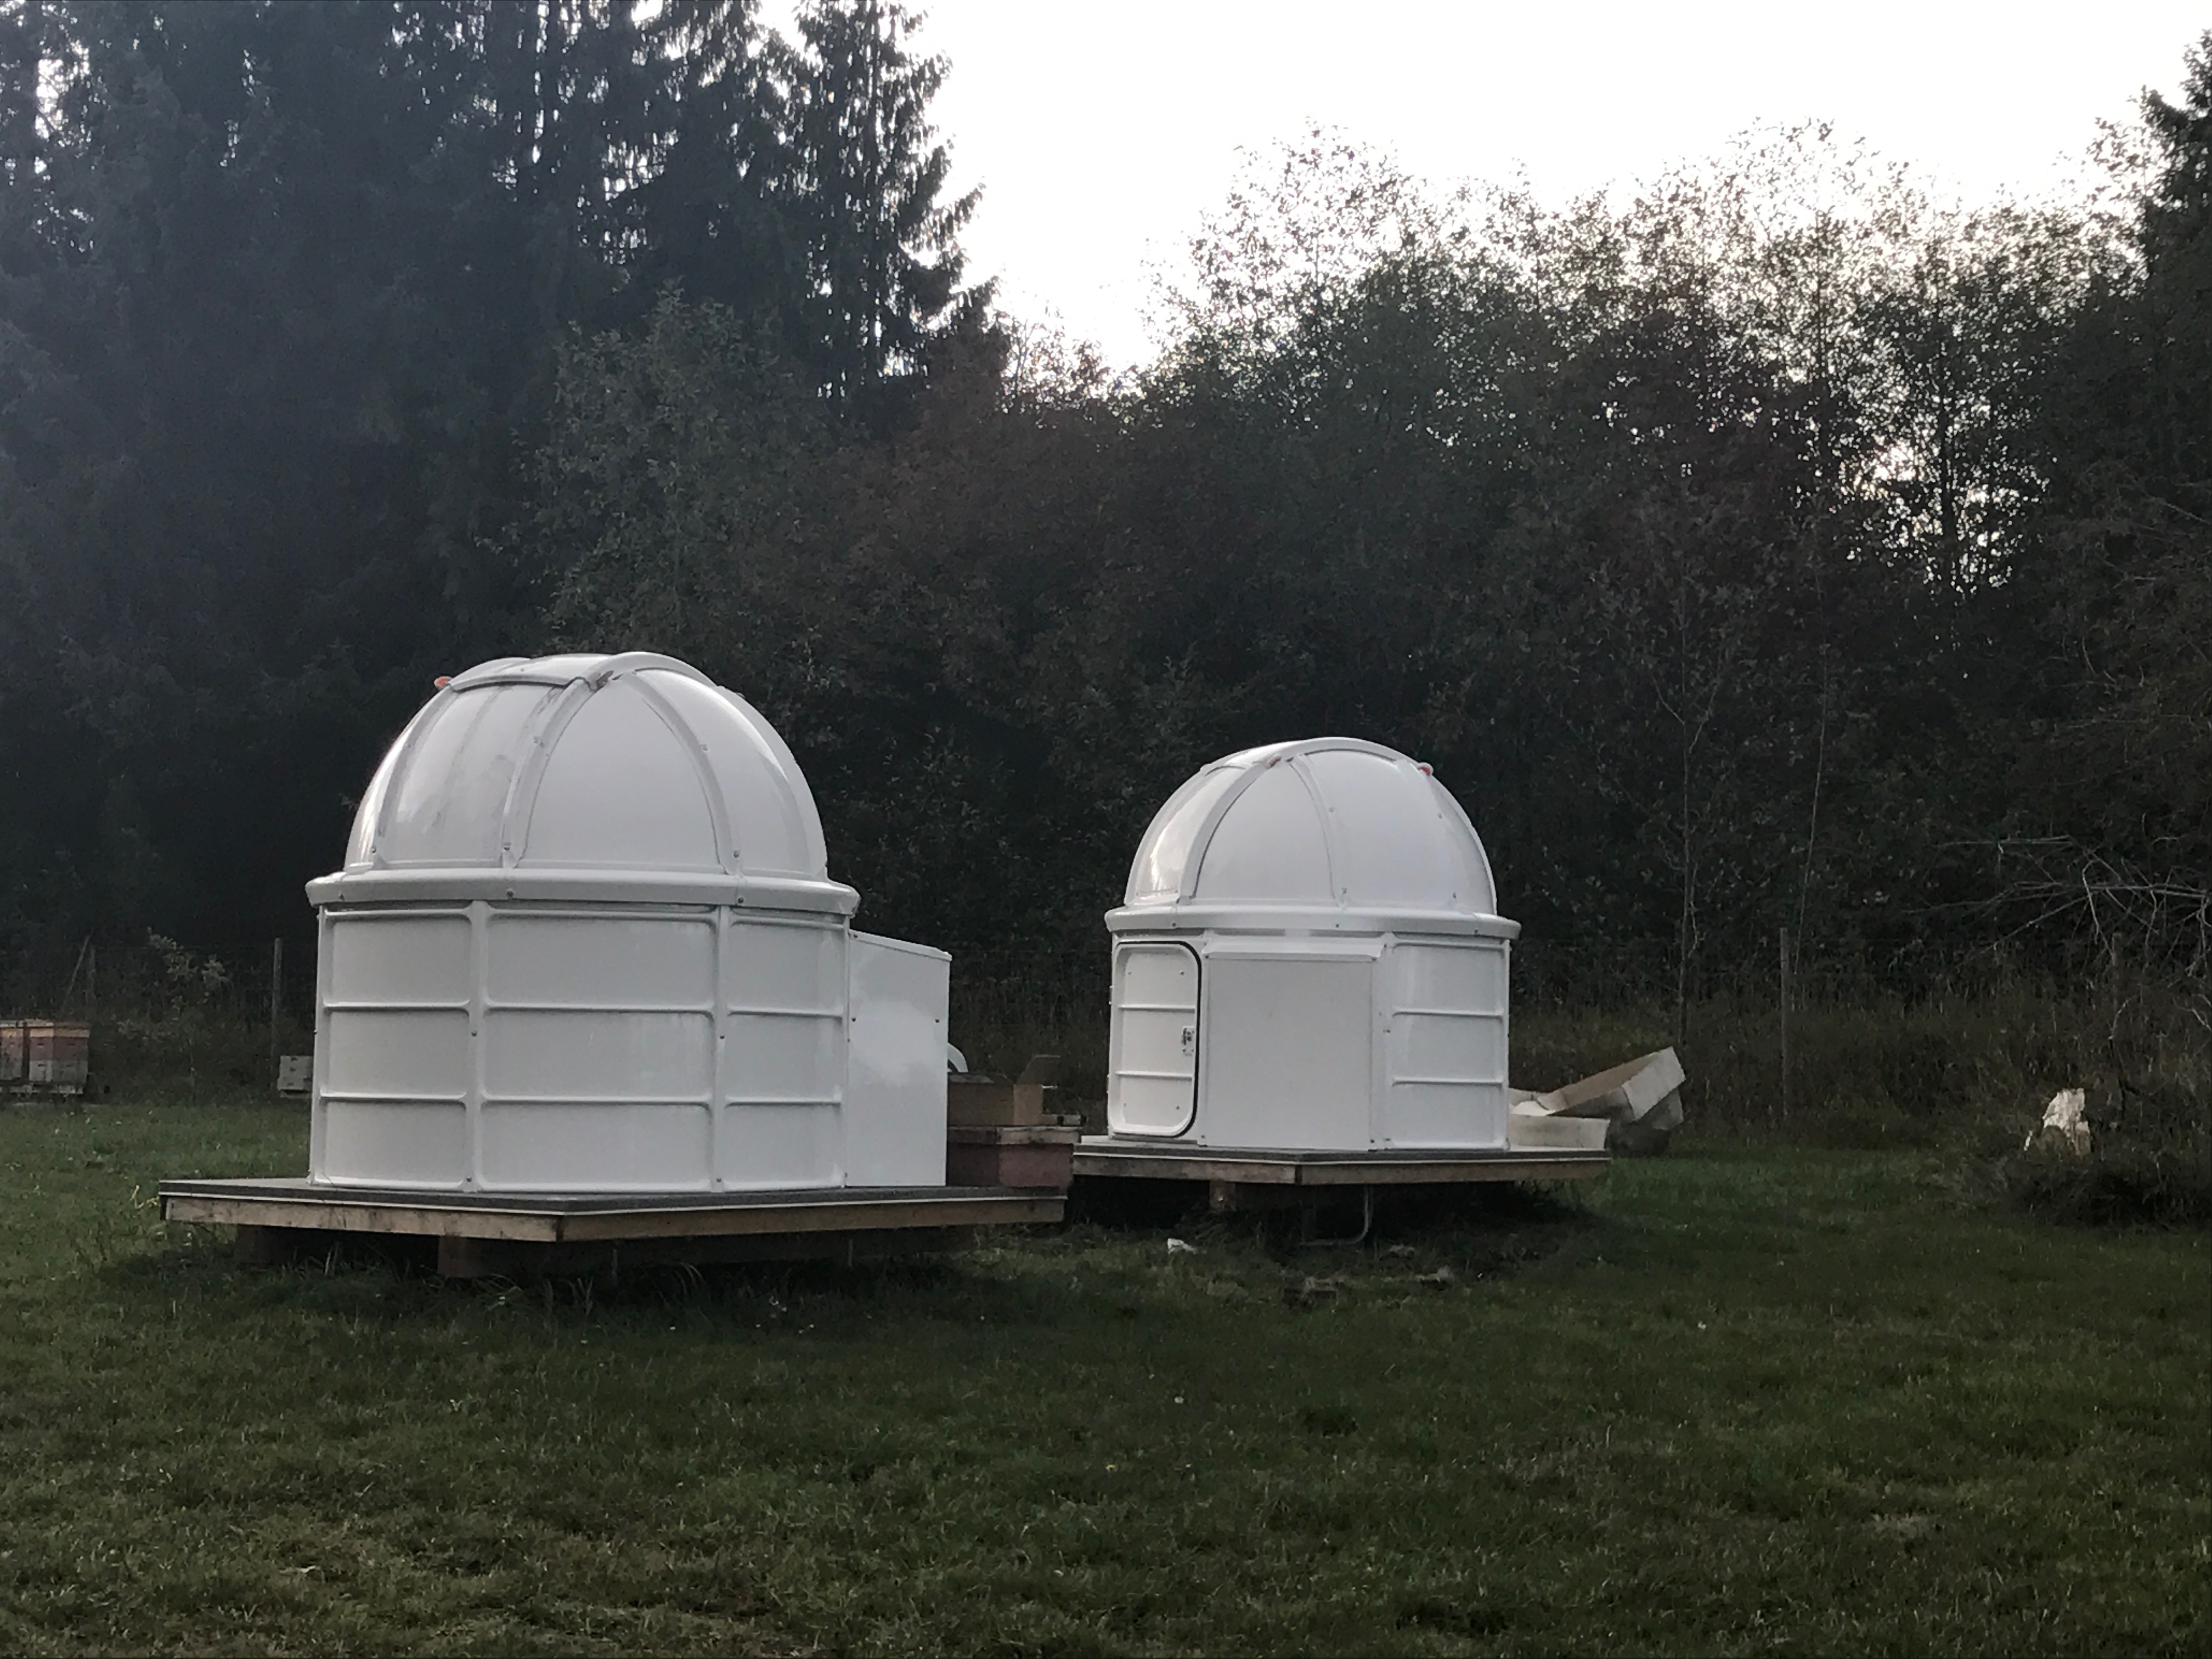
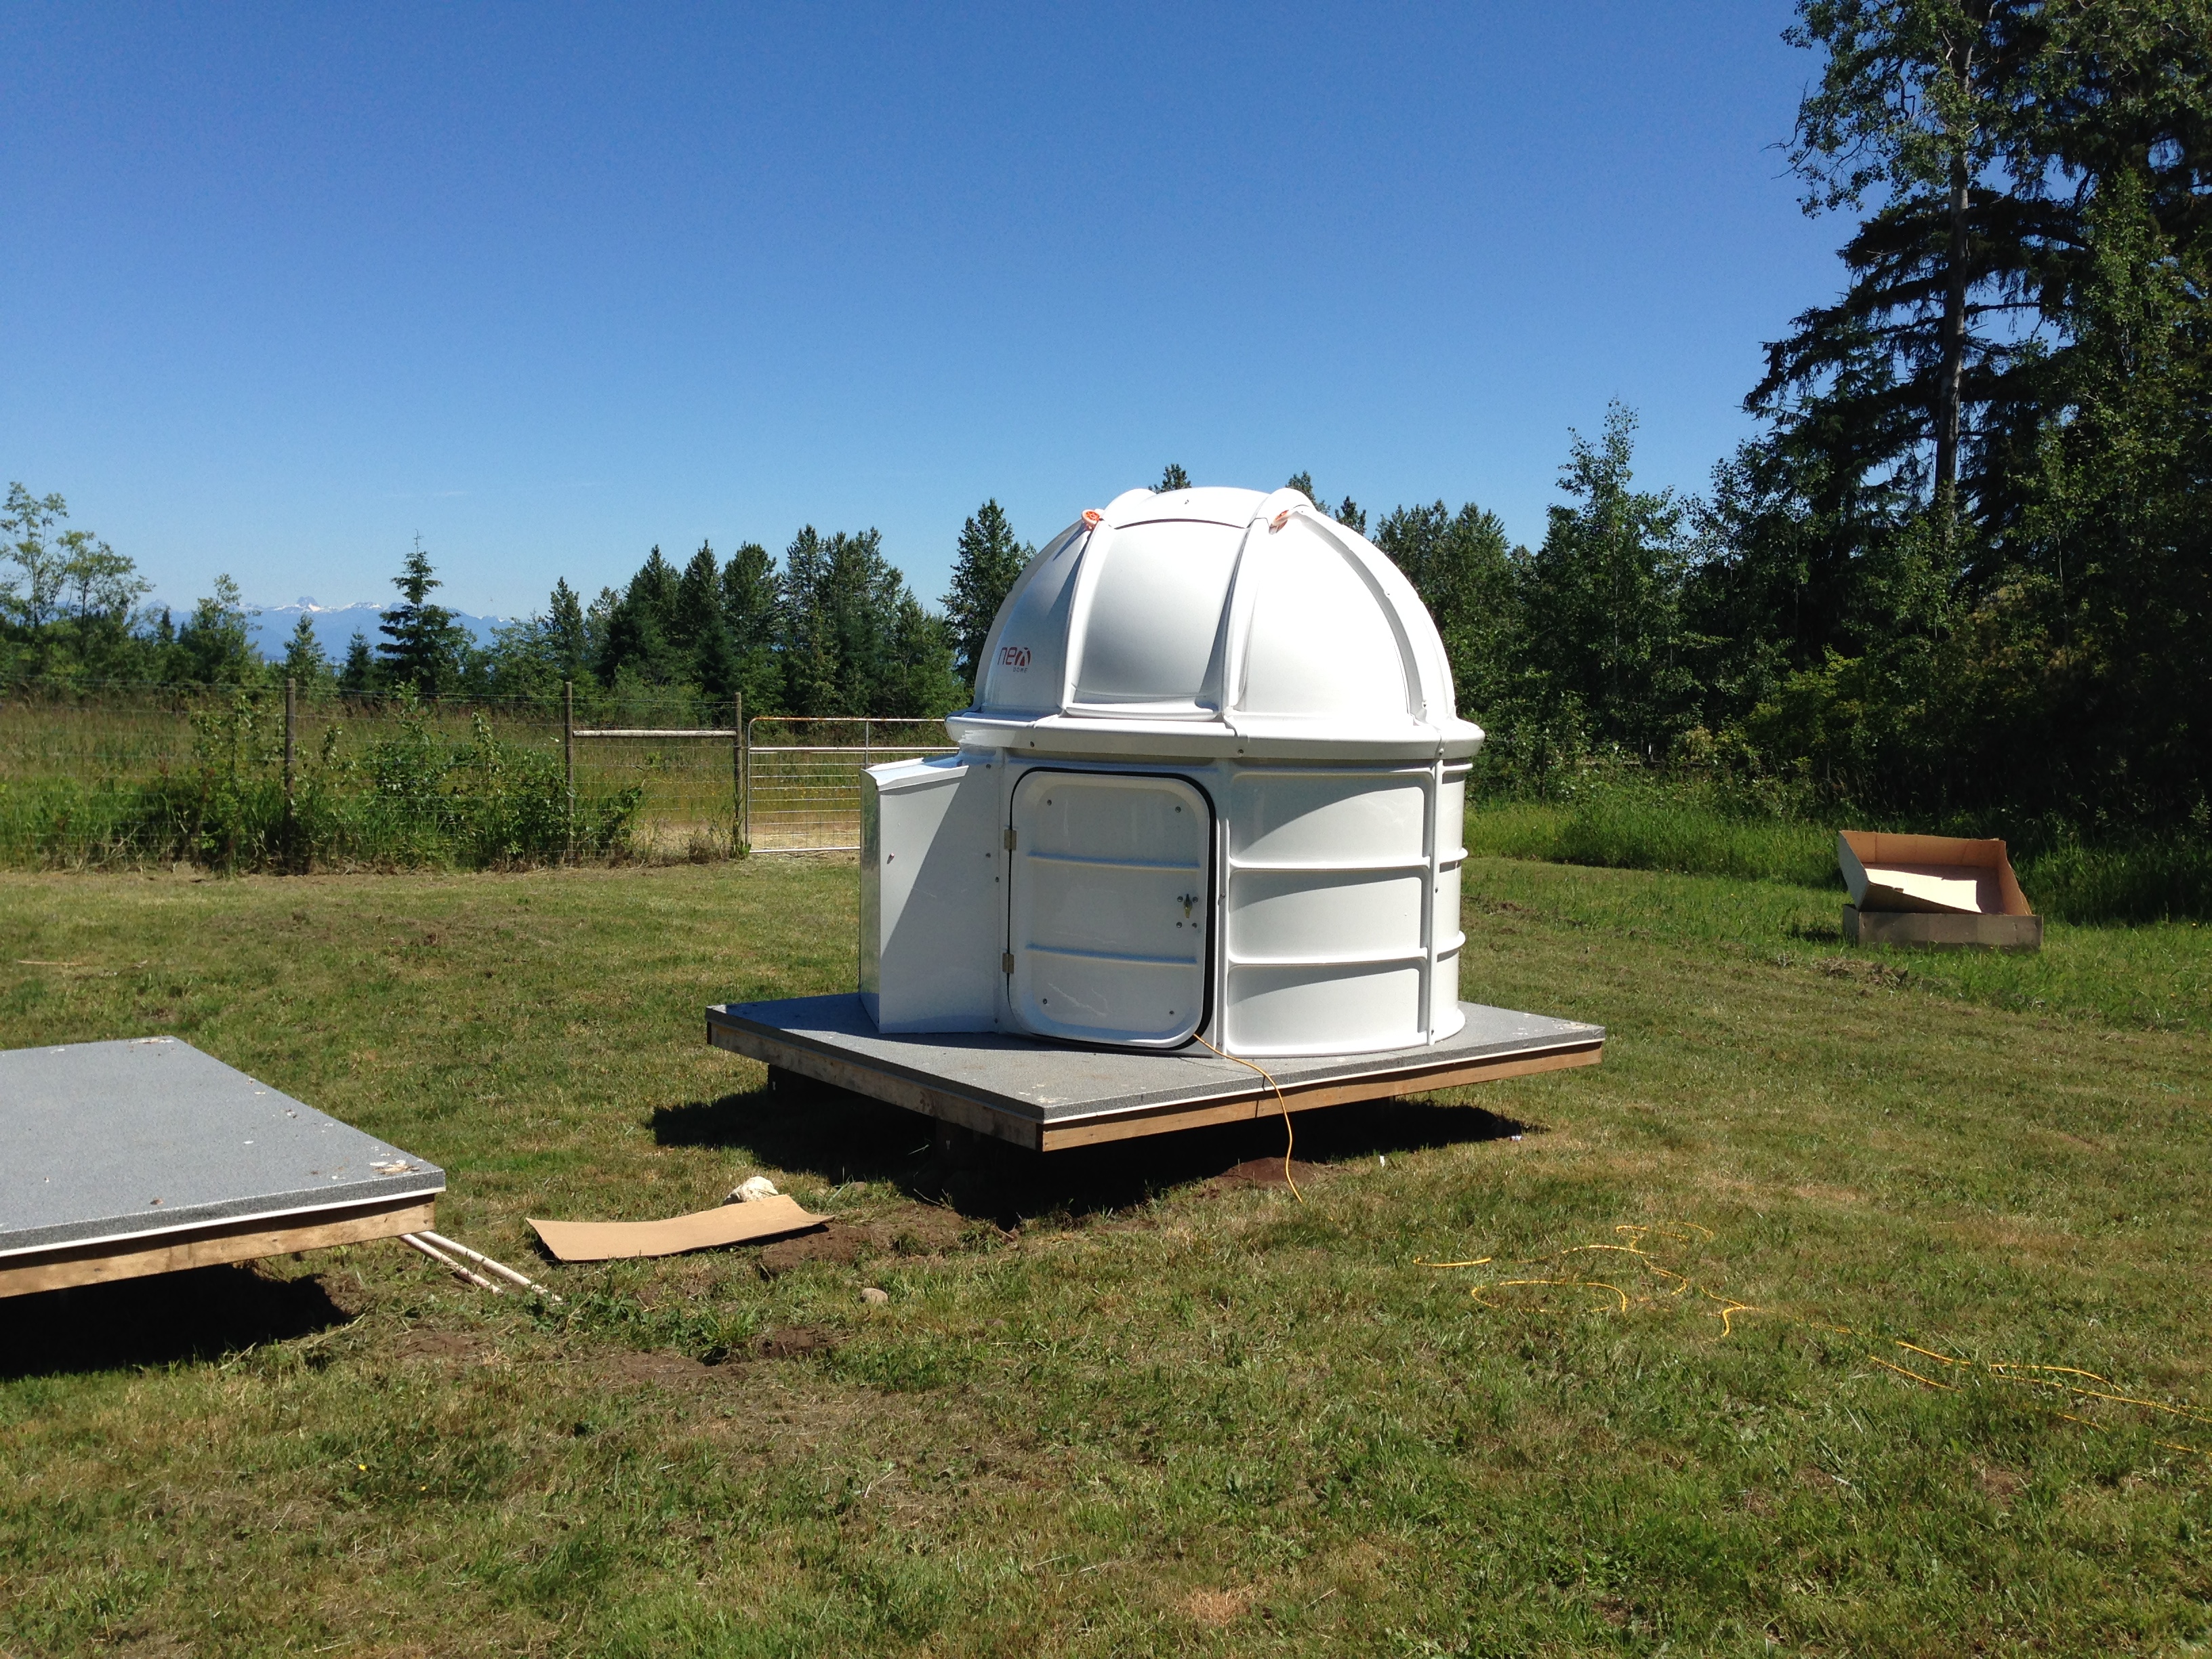
The second dome
We finally got the second dome onto the second platform. Now all that’s left is some wiring.

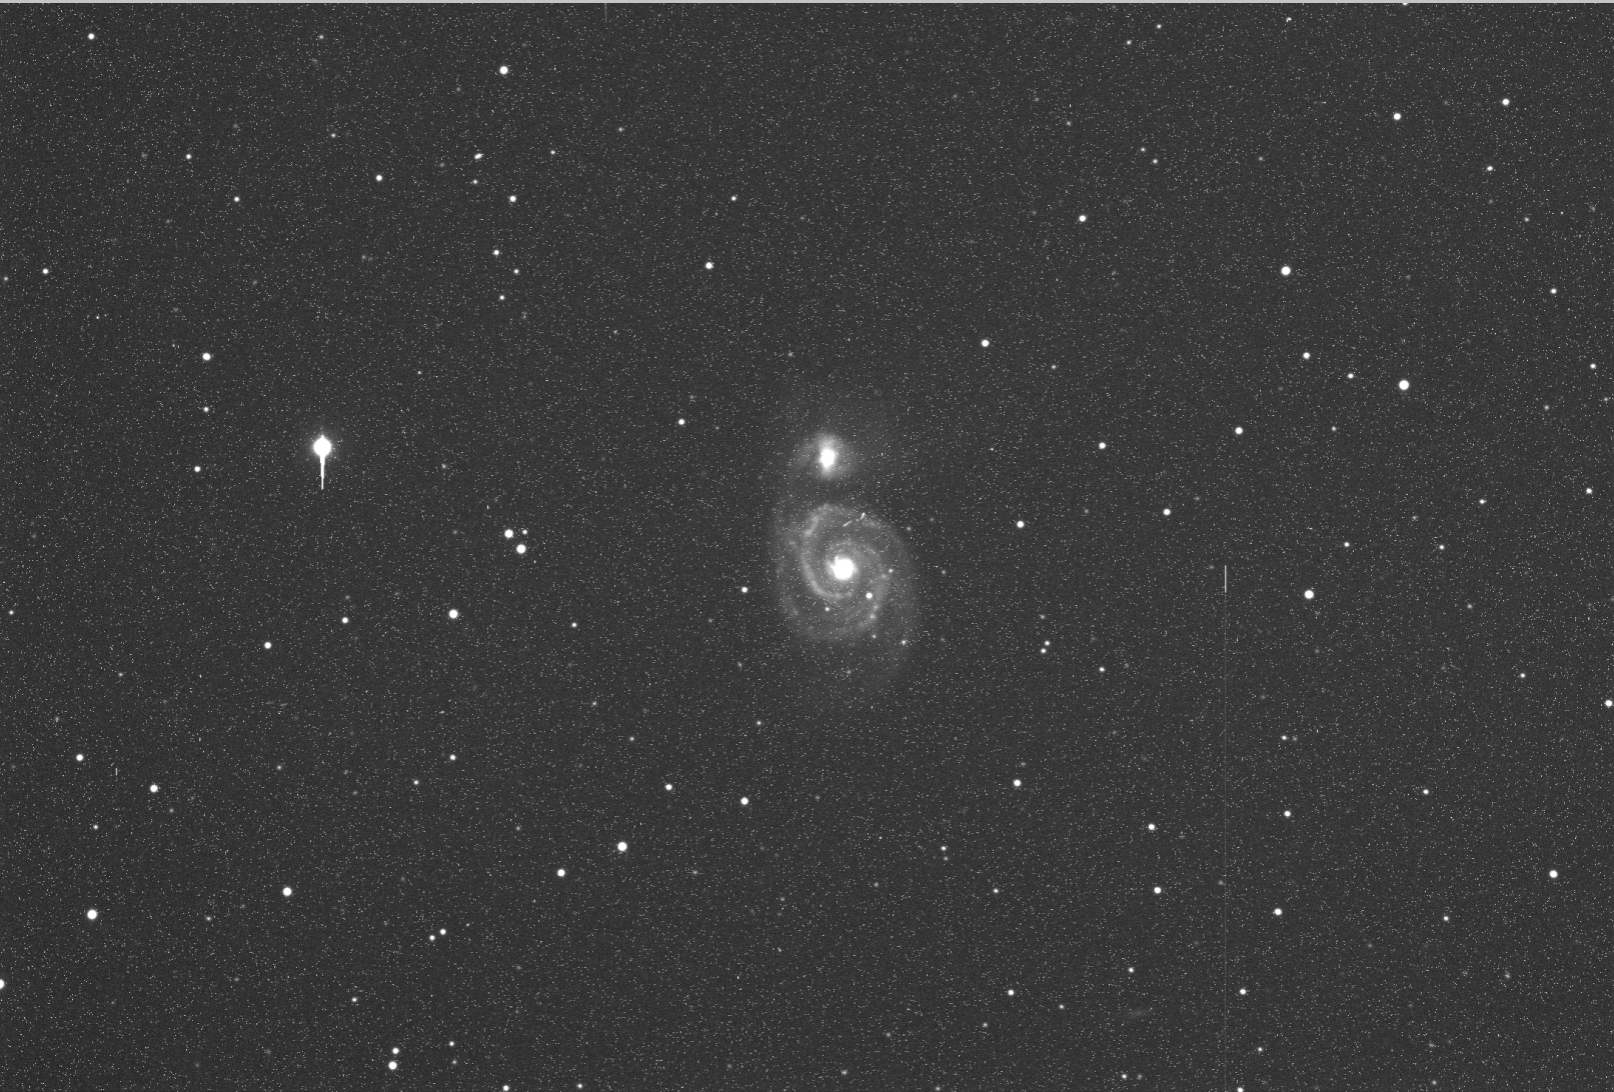 A relatively clear, altho somewhat murky night last night with poor seeing, this is the first long exposure attempted with the ST10XME attached to the TOA-130 mounted on the EQ8. Taken thru the L filter, guided using the guide chip in the ST10. This is a 5 minute exposure on M51 with no calibration, just a mild stretch for screen display.
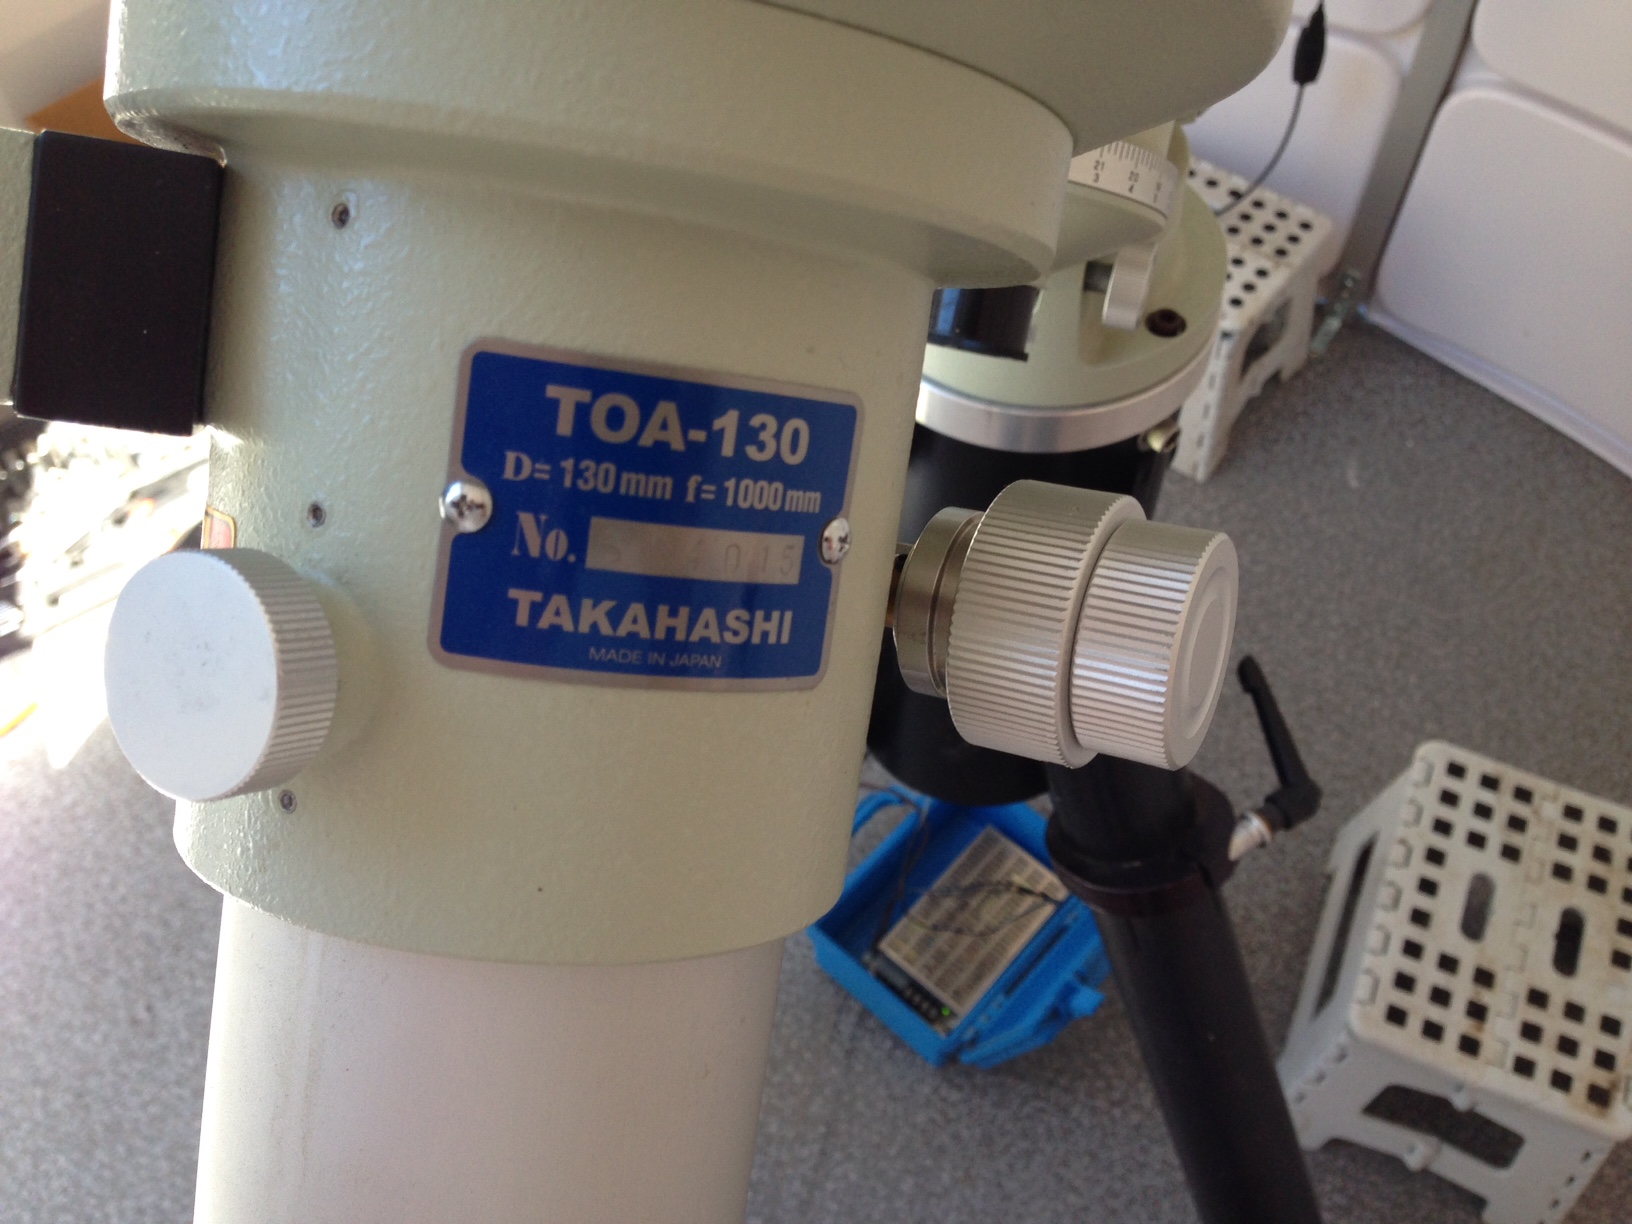
The evening started off on the wrong foot. Yesterday afternoon in daylight I changed all of the camera connections so that the nosepiece was removed, the Tak camera angle adjuster added, and all connections threaded to get a solid mount on the camera. After dusk, I discovered there was not enough back travel to get the system focussed. I ended up taking it all apart in the dark and inserting an extension tube, then re-assembling it all. When I got everything remounted correctly, I forgot to turn on the camera cooler, so the above image is uncooled.
The ST10 is an NABG camera, so there is one bright star that produces blooms. NABG is desireable for science observations, but, not so much when making ‘pretty pictures’. It remains to be seen if we stick with this camera or change the camera for this telescope.
A relatively clear, altho somewhat murky night last night with poor seeing, this is the first long exposure attempted with the ST10XME attached to the TOA-130 mounted on the EQ8. Taken thru the L filter, guided using the guide chip in the ST10. This is a 5 minute exposure on M51 with no calibration, just a mild stretch for screen display.
The evening started off on the wrong foot. Yesterday afternoon in daylight I changed all of the camera connections so that the nosepiece was removed, the Tak camera angle adjuster added, and all connections threaded to get a solid mount on the camera. After dusk, I discovered there was not enough back travel to get the system focussed. I ended up taking it all apart in the dark and inserting an extension tube, then re-assembling it all. When I got everything remounted correctly, I forgot to turn on the camera cooler, so the above image is uncooled.
The ST10 is an NABG camera, so there is one bright star that produces blooms. NABG is desireable for science observations, but, not so much when making ‘pretty pictures’. It remains to be seen if we stick with this camera or change the camera for this telescope.
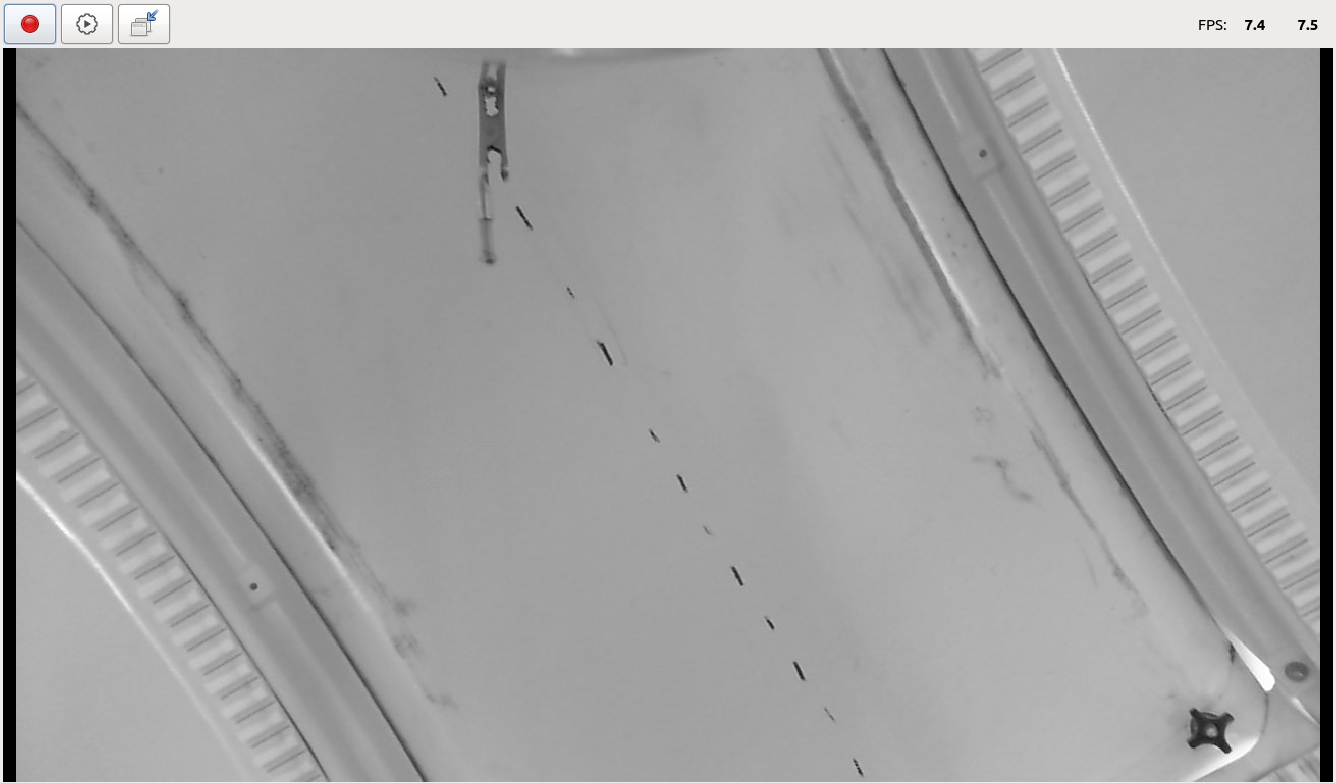
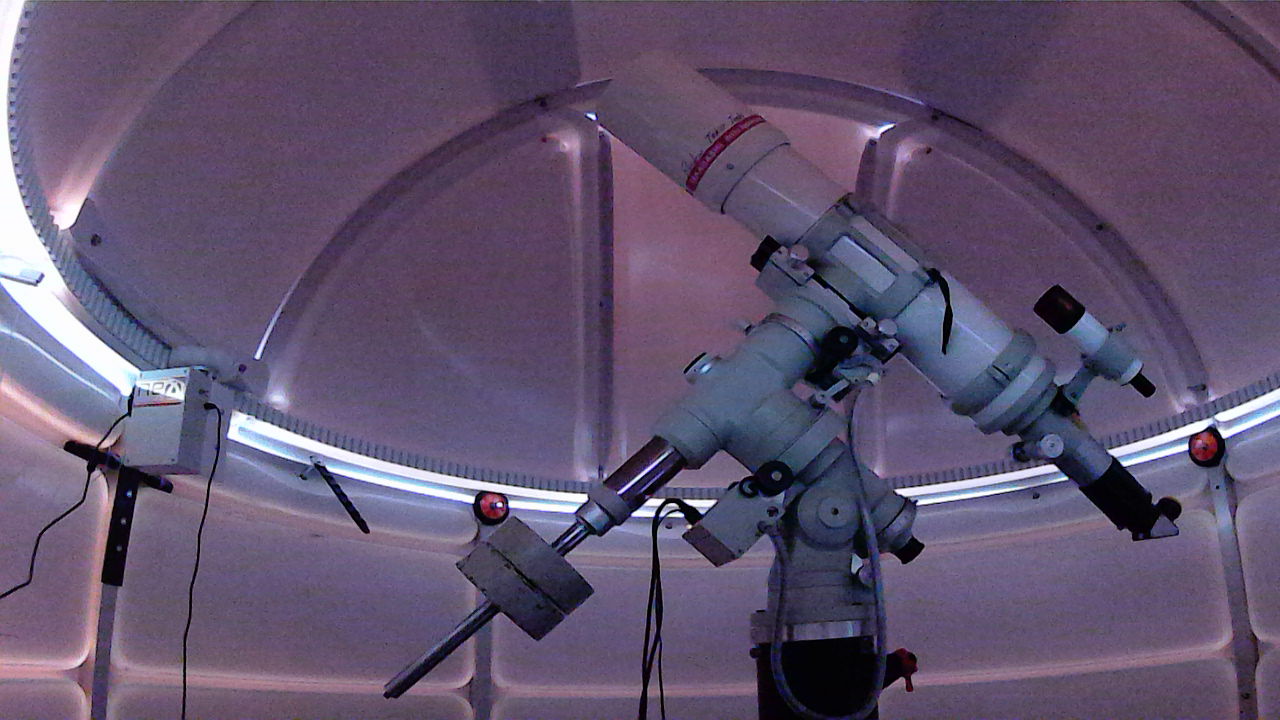
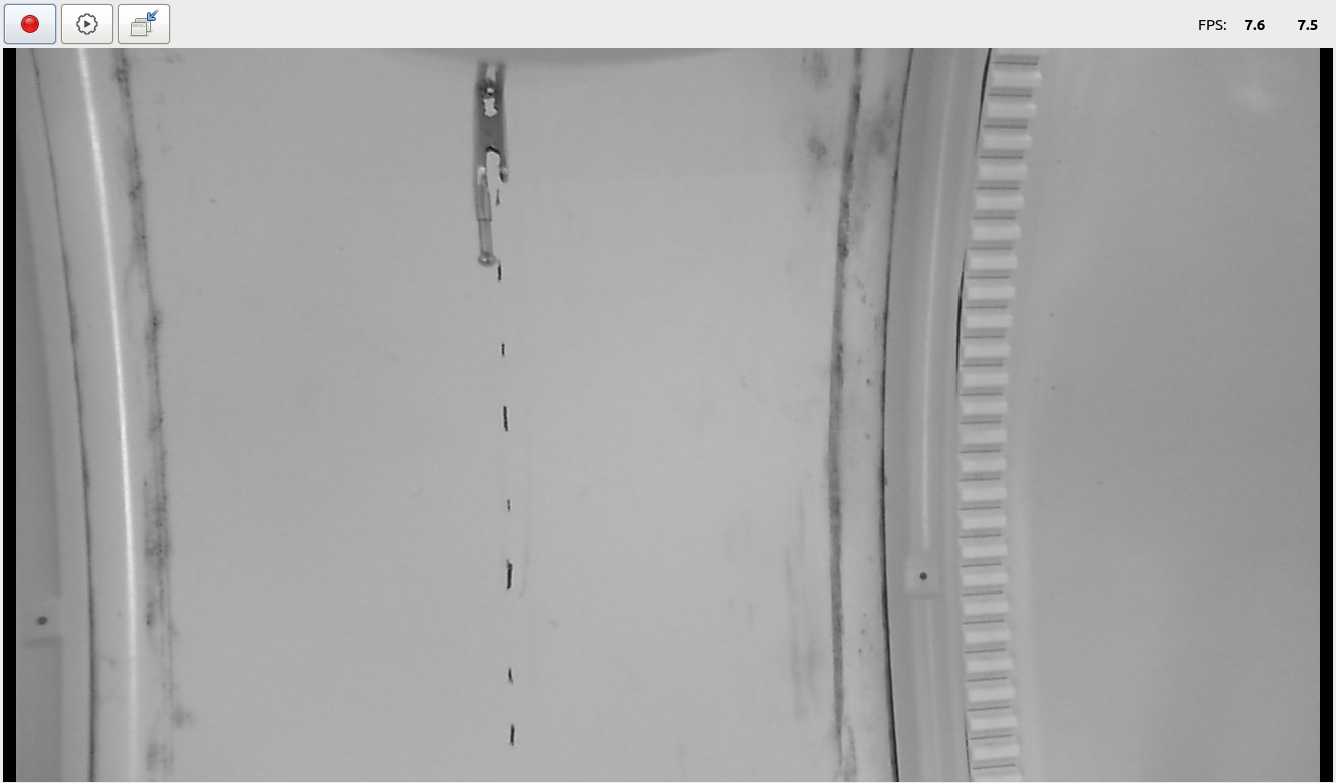 Second test, point the telescope down to the horizon in the north, with scope on the east side of the pier, take the shot, then slew the telescope thru a meridian flip to a point just on the other side of the meridian. End result of this first test:-
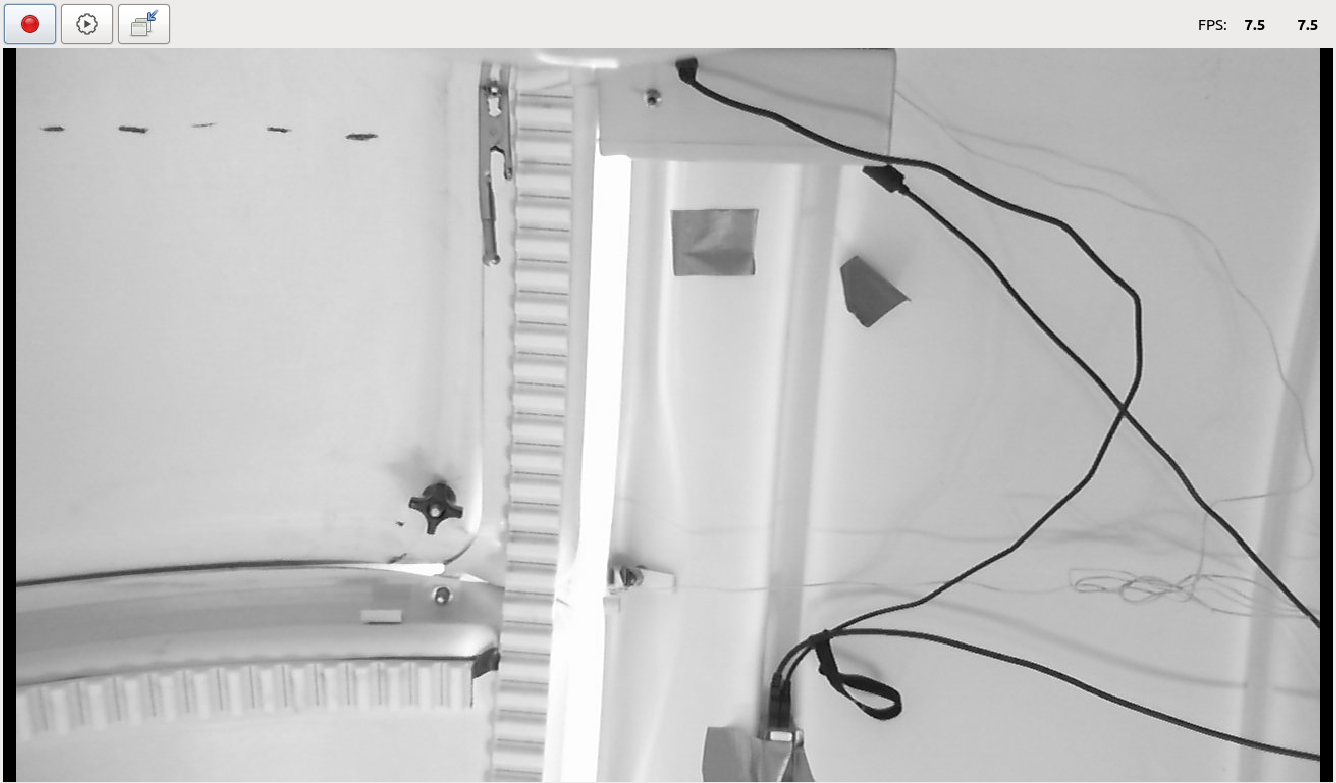
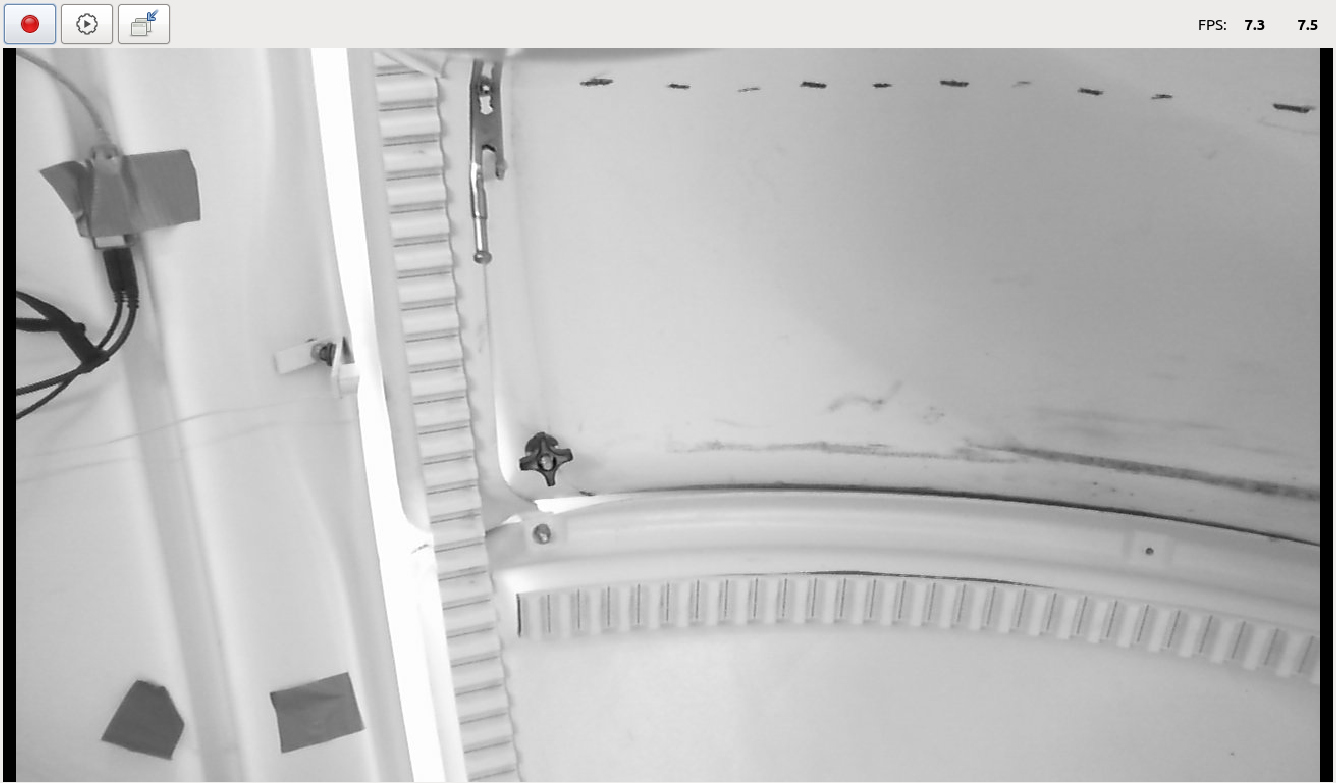 As you can see, telescope is pointed right at the base of the dome ring, and the reference line is right in line with the alligator hinge clip.
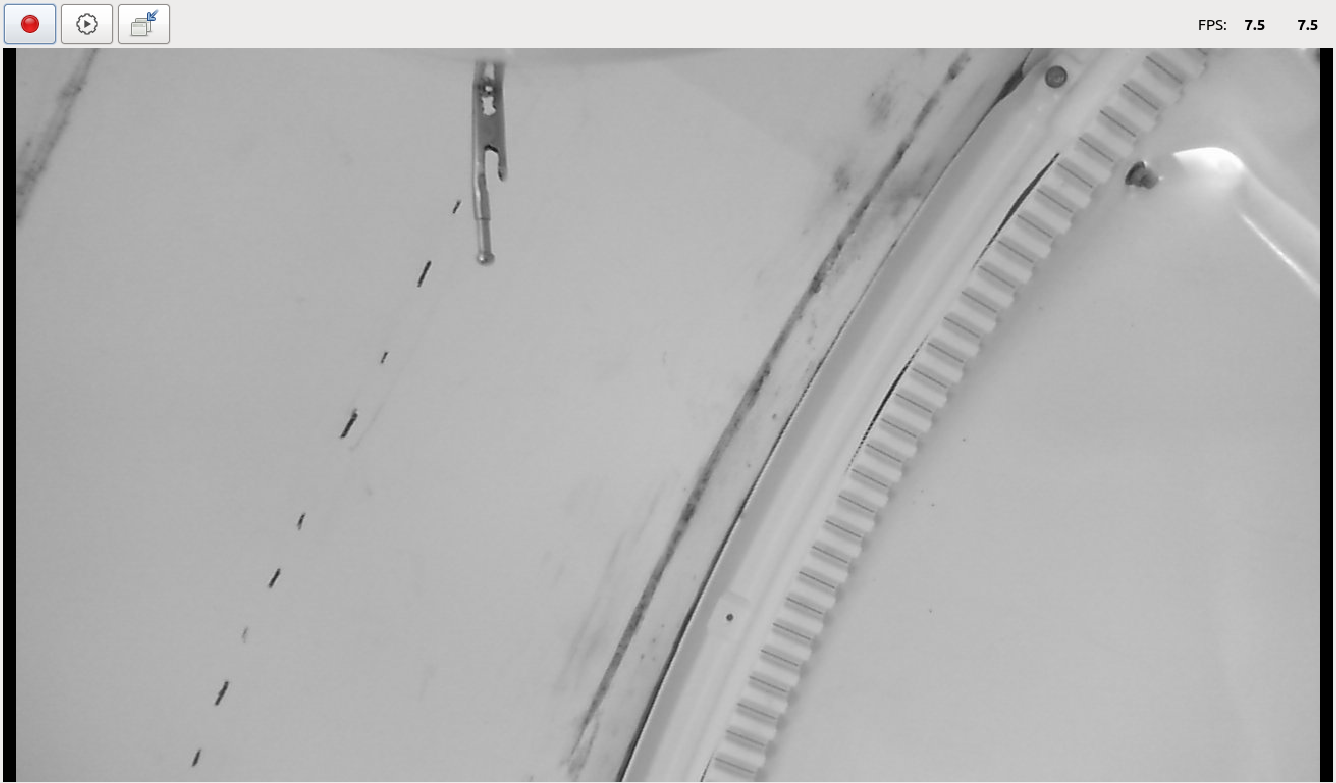
Next test, repeat the above but now pointed to the south.
As you can see, telescope is pointed right at the base of the dome ring, and the reference line is right in line with the alligator hinge clip.
Next test, repeat the above but now pointed to the south.

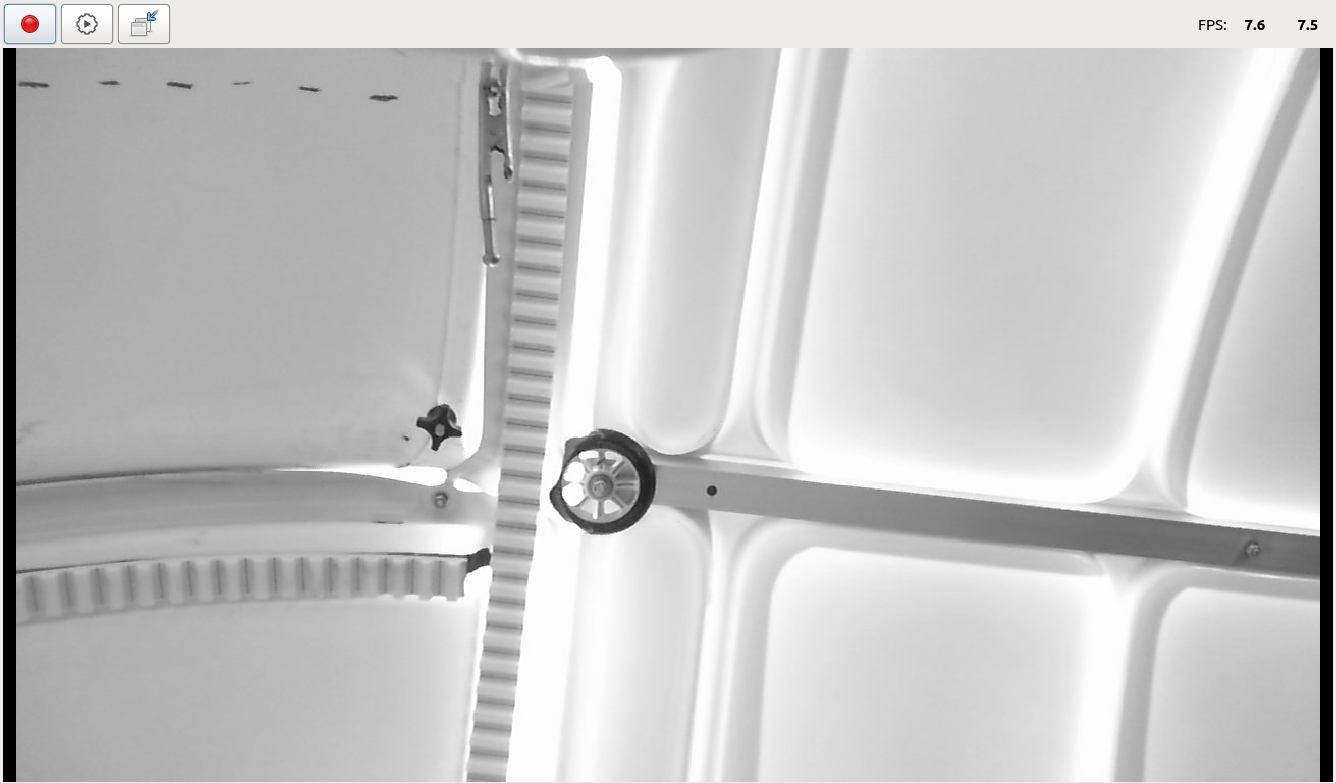 Next test, head off to the east and west horizons
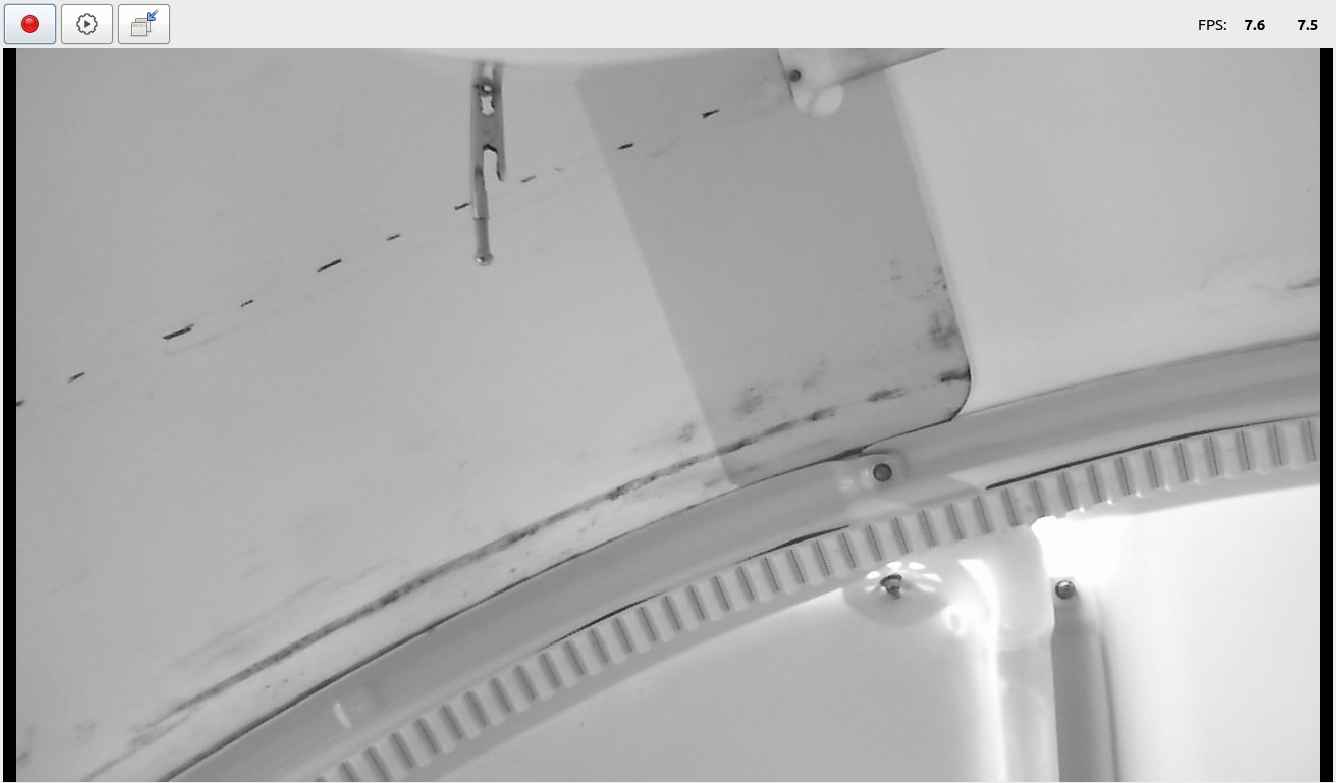
 Now that we can see all the cardinal points look correct, go thru a few more points higher in the sky. Northwest, Northeast, and SouthWest at an alt of roughly 45 degrees
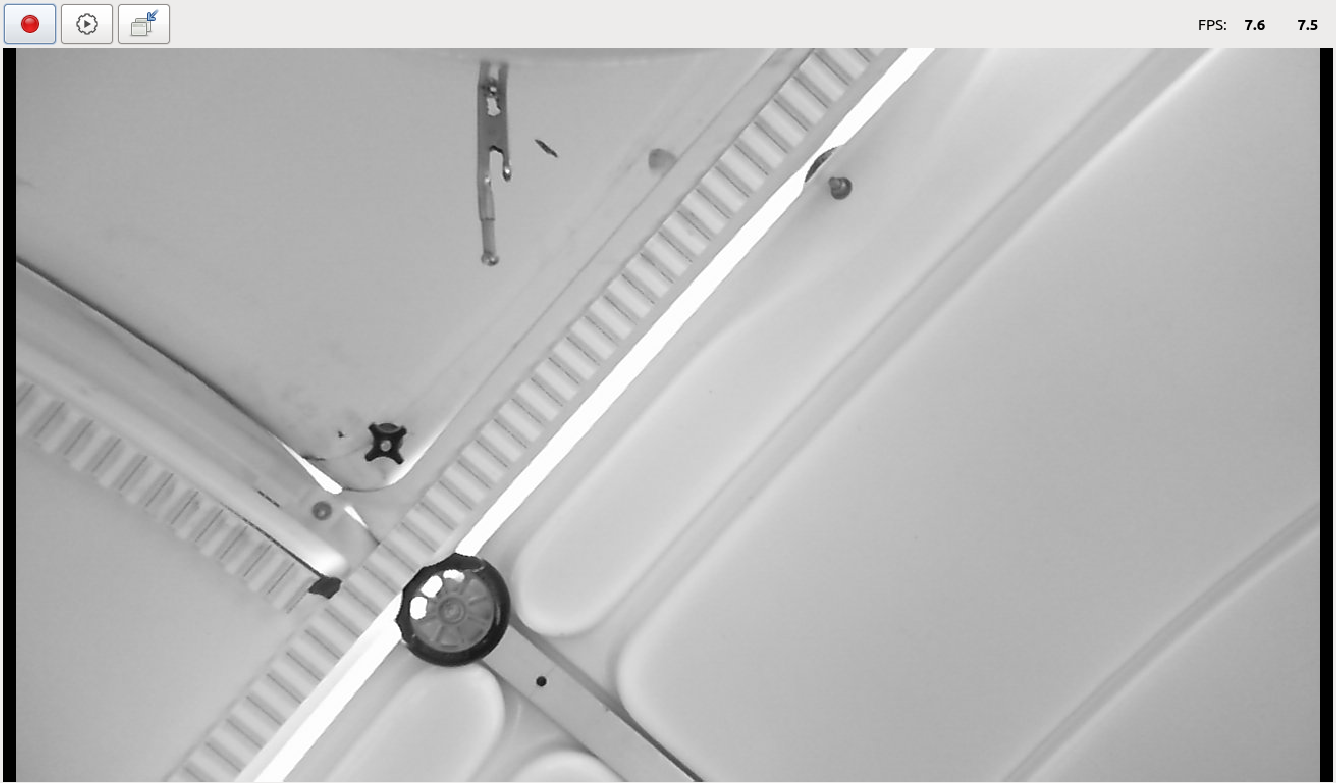
 And finally, a shot high near zenith, altitude 75 degrees.
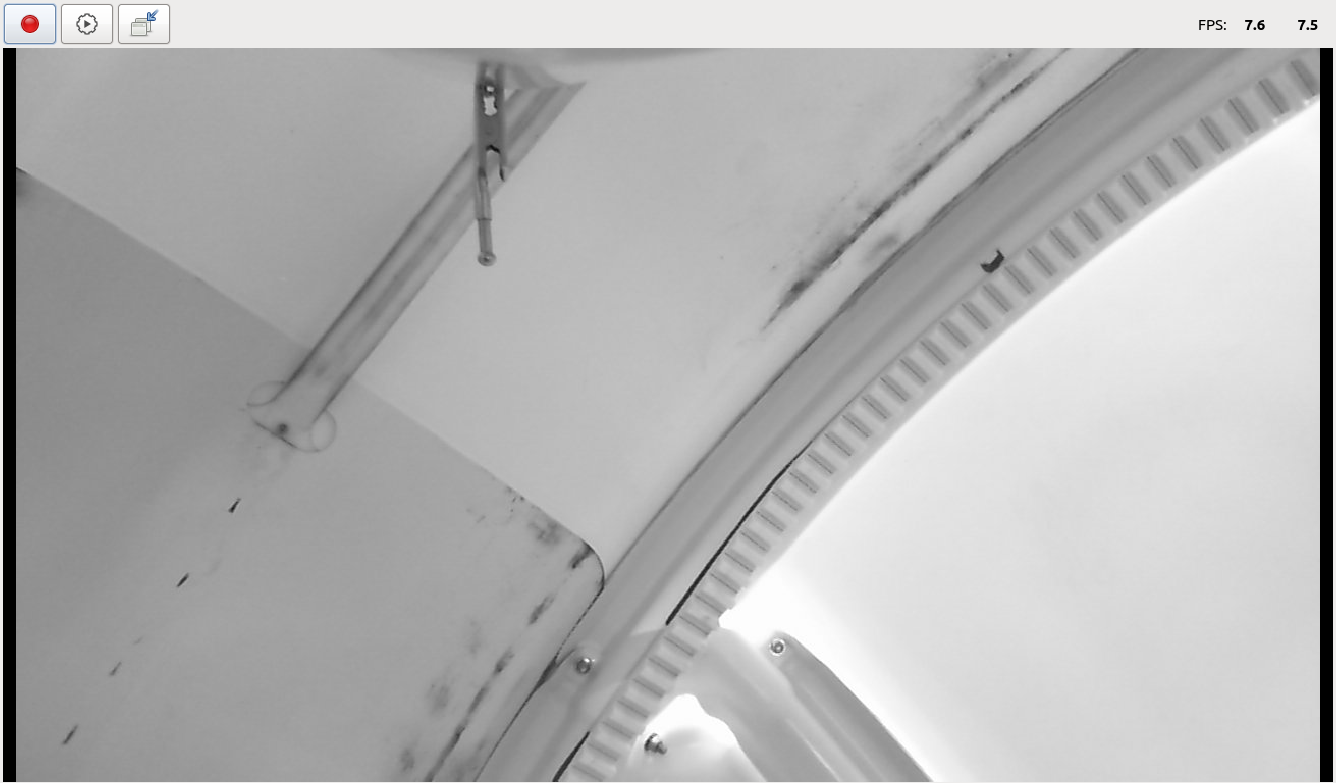 I am pleased with the final result, we can now point this telescope anywhere, and when the dome slaving is active, it’ll be looking thru the center of the slit in every direction.
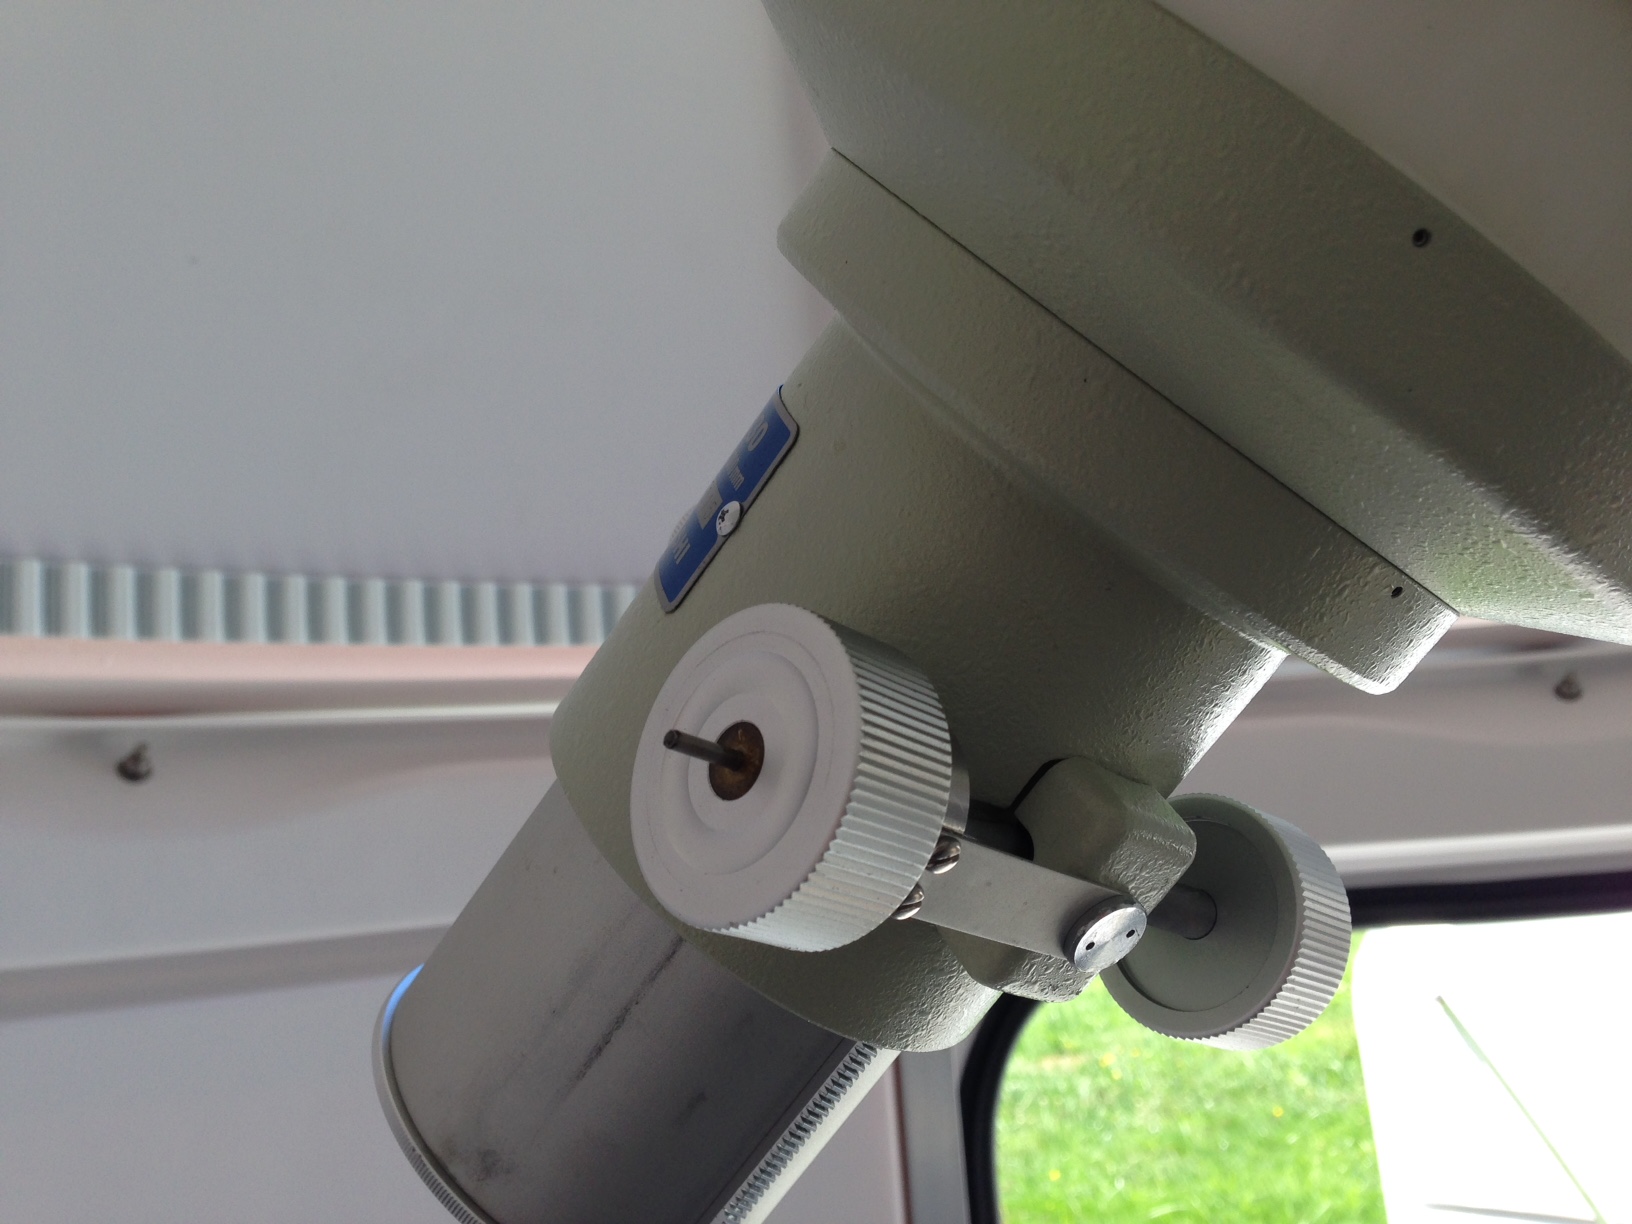
 From below
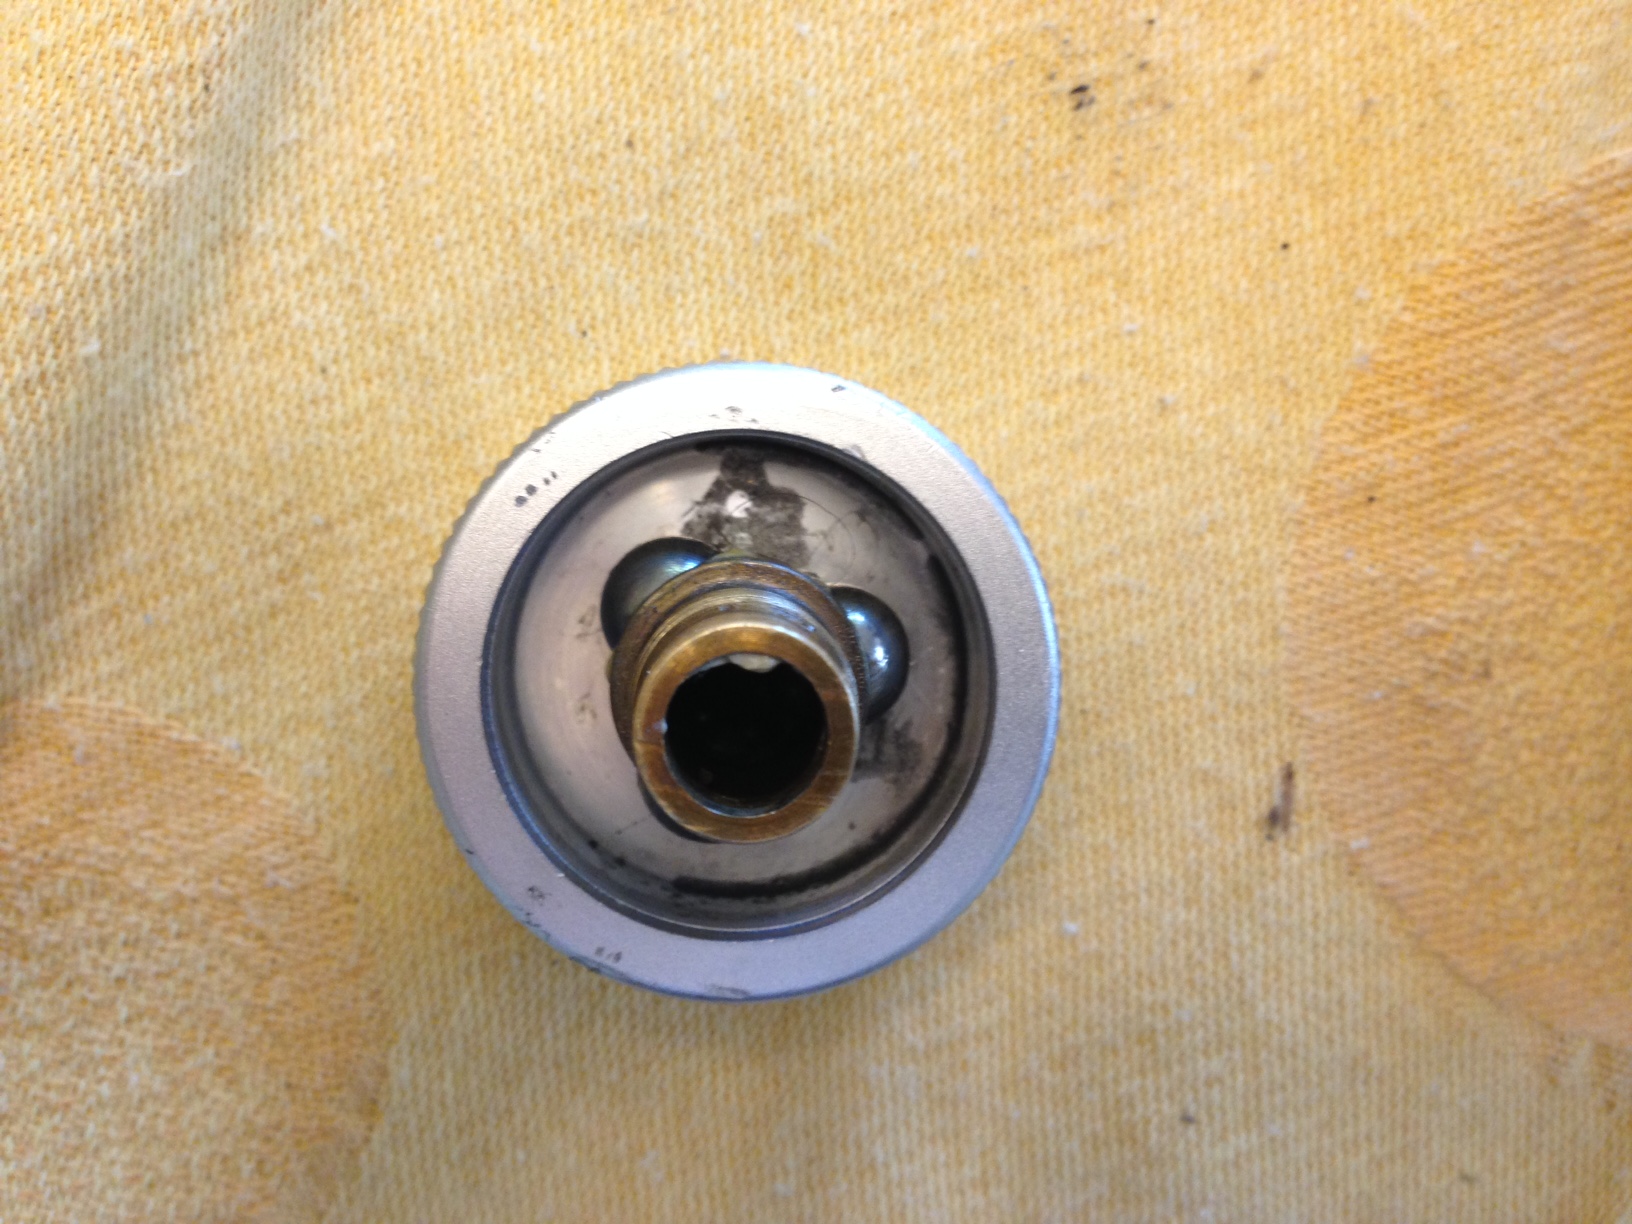
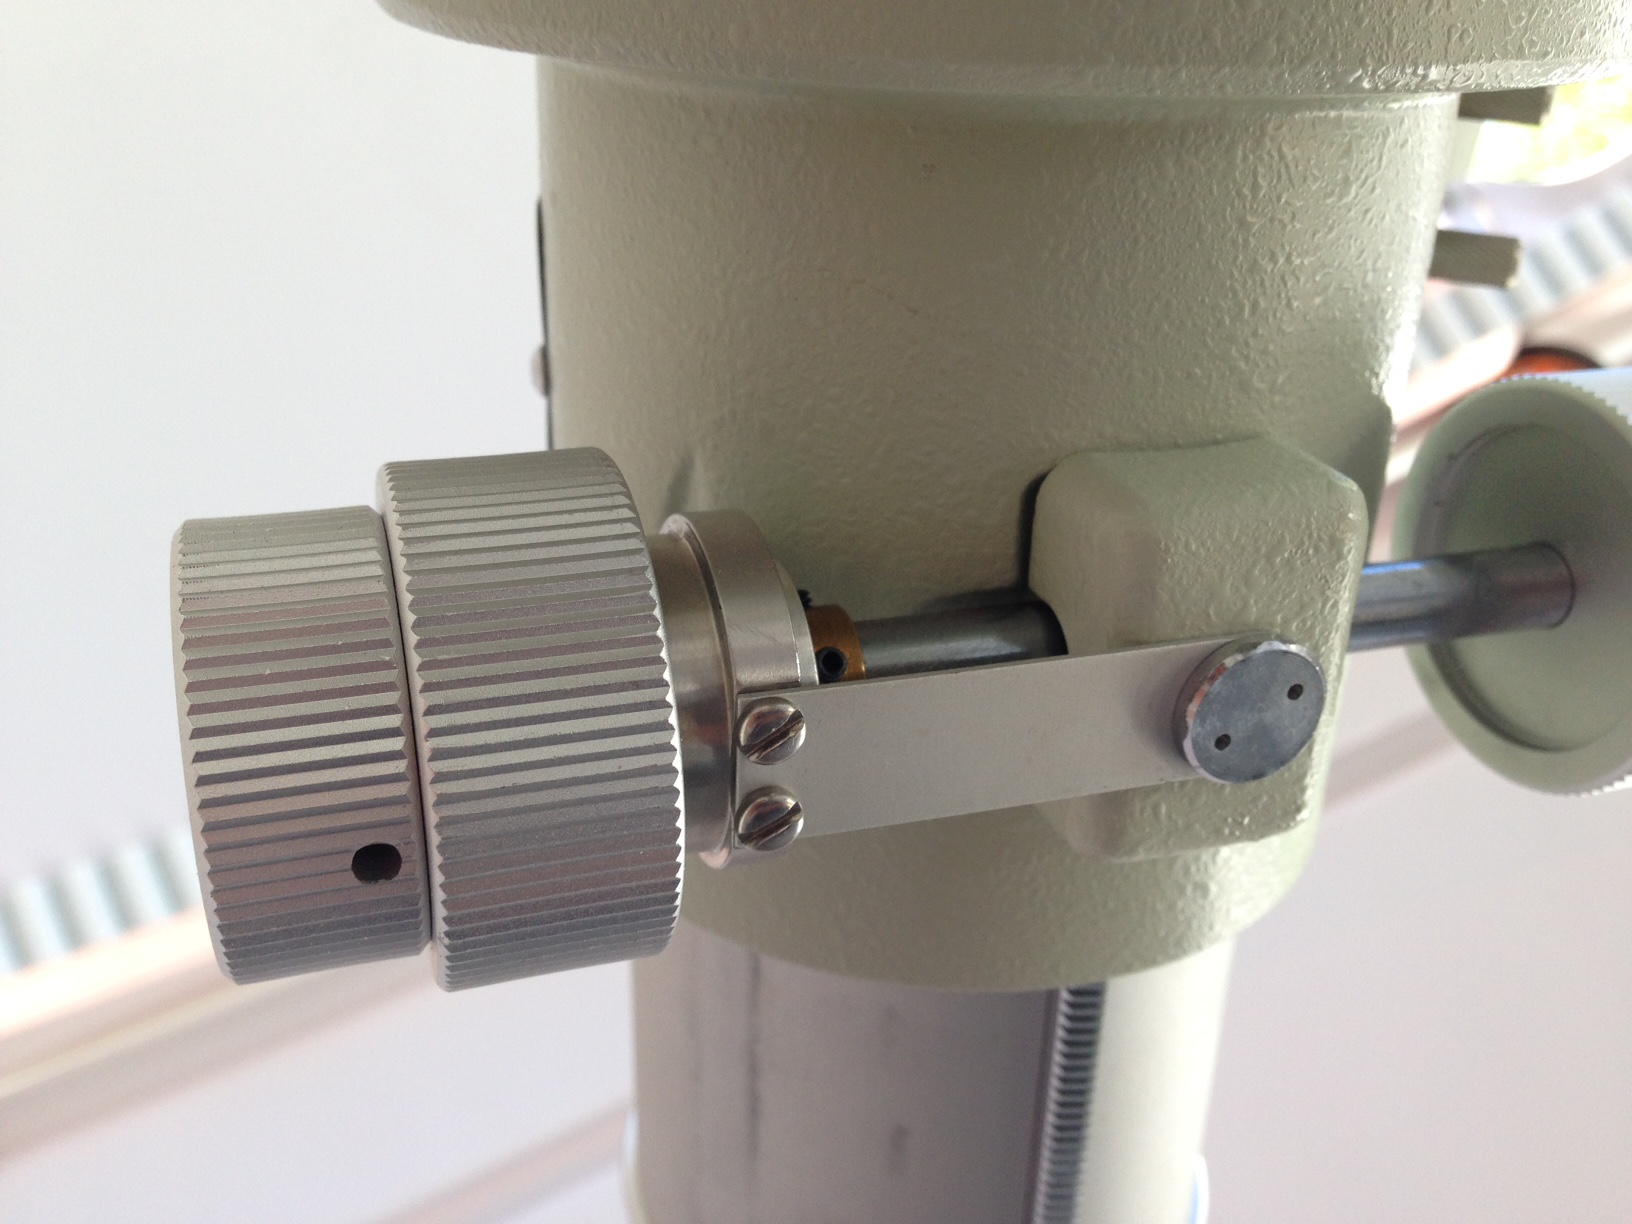 Side shot with fine focus knob removed
 Coarse Focus knob on the shaft after full disassembly
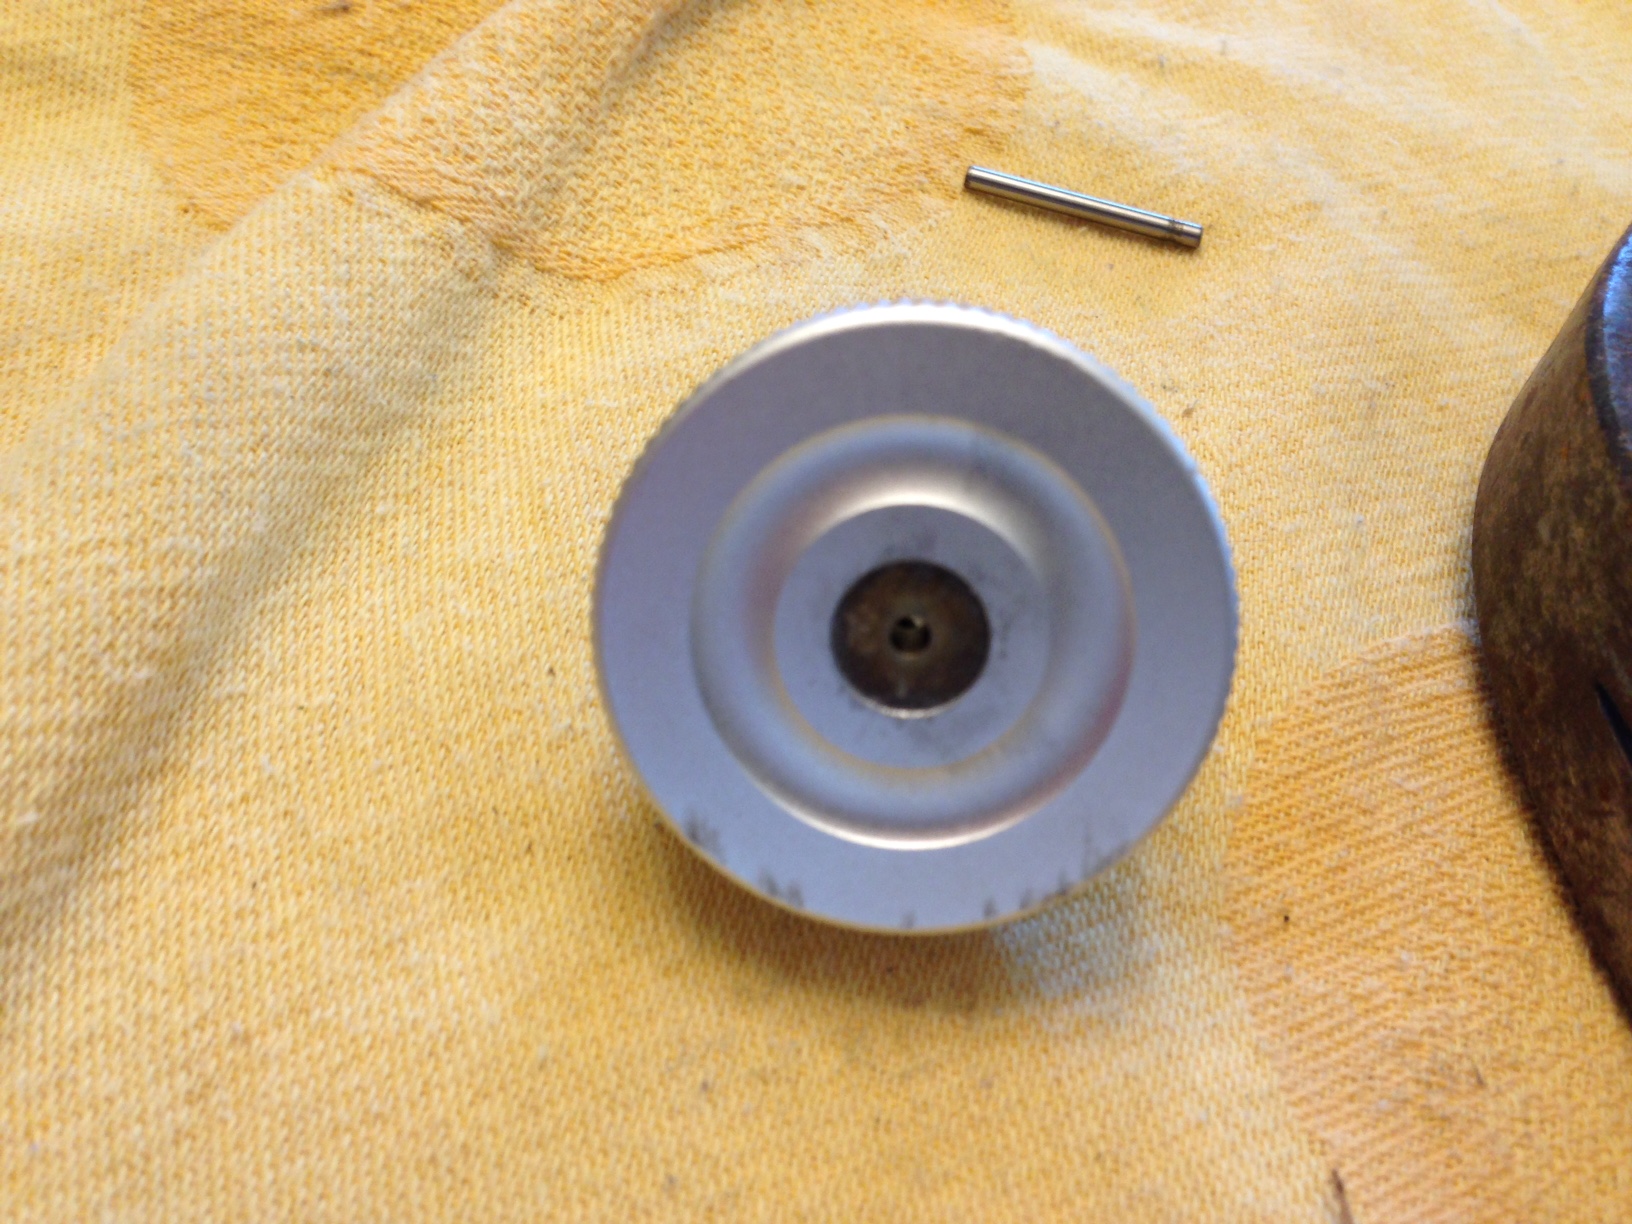 Shaft side of the coarse focus knob
 After the electrician finishes getting the network out to the dome, still waiting on the optical fiber, then we’ll start cleaning up the wiring and mounting some cameras.
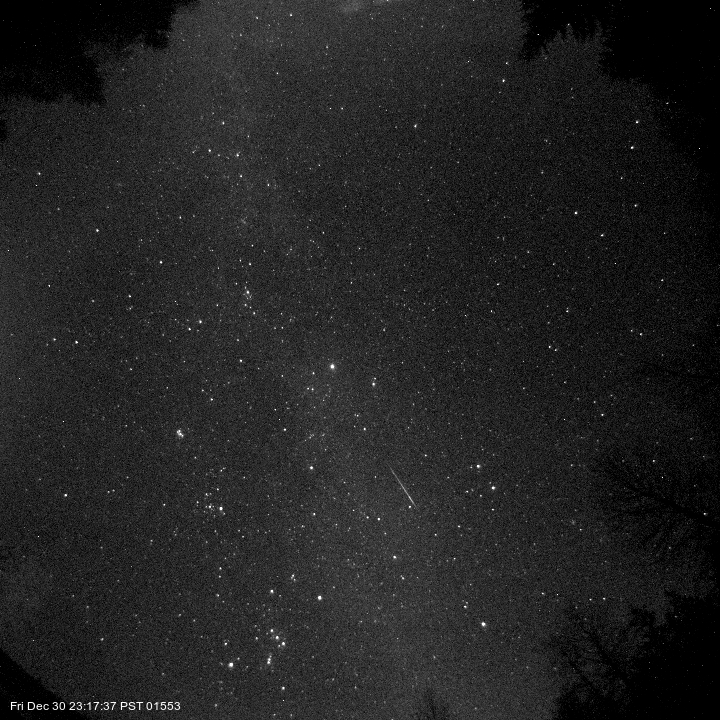
 For comparison, the same stretch applied to an image taken on a very good night, clear sky with no moon. In the past I always trimmed the edges off of these images because any bright ground lights would affect the automated stretching so badly that stars and milky way were not visible. Going forward now, we can display the full images including any ground lights, and still get a very good representation of the sky.
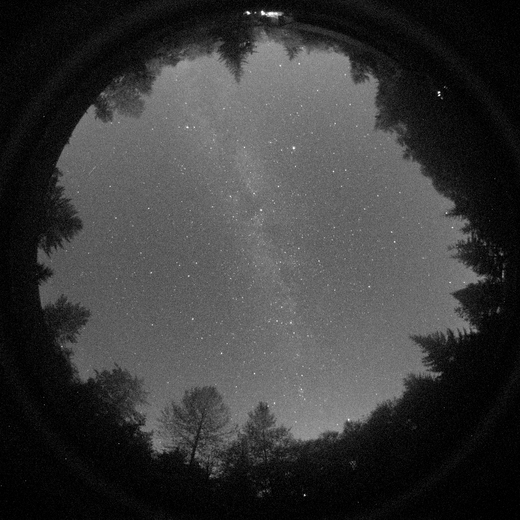 I’m really happy with this result, because now the all-sky images will be useable most of the time, whereas in the past, they were essentially unusable on nights with a moon in the sky.
The processing of these involves a few step, first we shrink the image to 50% size and then apply a gamma, and finally apply a stretch. The end result is something that fits nicely on a web page for the real-time status displays.
The main drawback to this method of processing is how it affects daytime images, when the sun hits the camera directly, this camera will bloom, and this type of image stretch will magnify the blooms. At this point, we are not really concerned with daytime images, so that is a problem to be filed away for another time. I have a strategy in mind that should allow us to extract decent daytime images from this camera, but it’s a fair amount of work and will have to wait for now.
I’m really happy with this result, because now the all-sky images will be useable most of the time, whereas in the past, they were essentially unusable on nights with a moon in the sky.
The processing of these involves a few step, first we shrink the image to 50% size and then apply a gamma, and finally apply a stretch. The end result is something that fits nicely on a web page for the real-time status displays.
The main drawback to this method of processing is how it affects daytime images, when the sun hits the camera directly, this camera will bloom, and this type of image stretch will magnify the blooms. At this point, we are not really concerned with daytime images, so that is a problem to be filed away for another time. I have a strategy in mind that should allow us to extract decent daytime images from this camera, but it’s a fair amount of work and will have to wait for now.